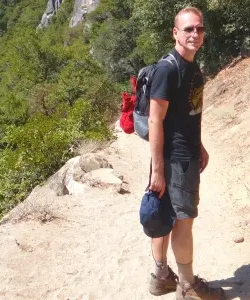
Hiking Angels Landing in Zion National Park is on many people’s bucket list. The hike is one of the most iconic trails in the USA. However, it’s also one of the most dangerous – and most daunting.
I love this trail, but you definitely want to be well prepared for it and know what you’re getting into. I’ve hiked this trail and spoken to dozens of others who have too, and based on all that, have compiled these tips for hiking Angels Landing.
I hope that these Angels Landing hike tips will help take away some of your anxiety.
Let’s take a look.
No time right now to read these 10 helpful Angels Landing tips? Pin It and save it for later:
WANT TO SAVE THIS GUIDE?Subscribe to daily national parks planning tips, travel inspiration and trip ideas and I’ll send you a free PDF of this Guide:
12 Helpful Angels Landing Tips
➡️ Before reading these tips for Angels Landing hike, I recommend reading my Angels Landing Trail Guide for a full description of the hike to start with.
1. Permit
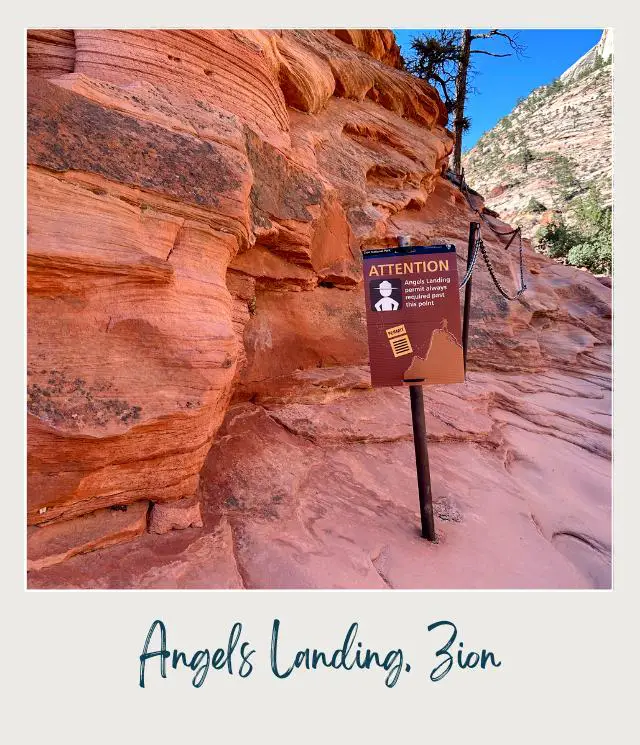
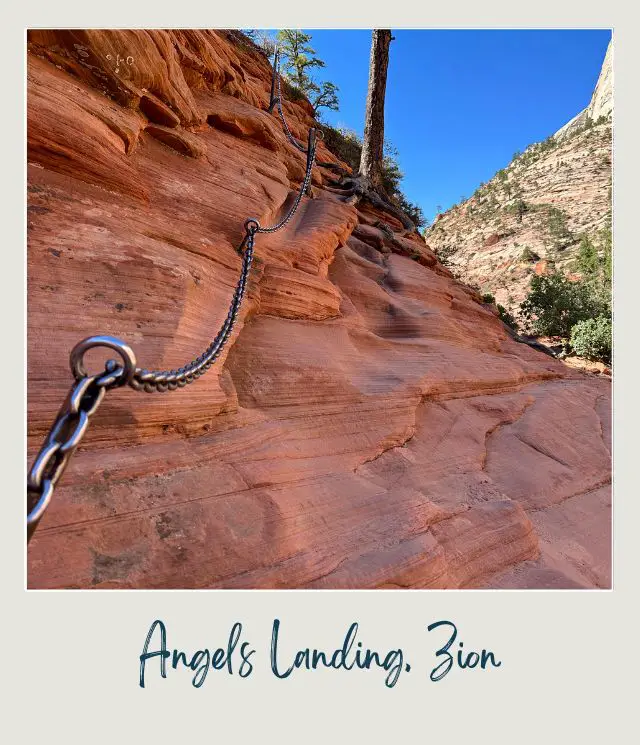
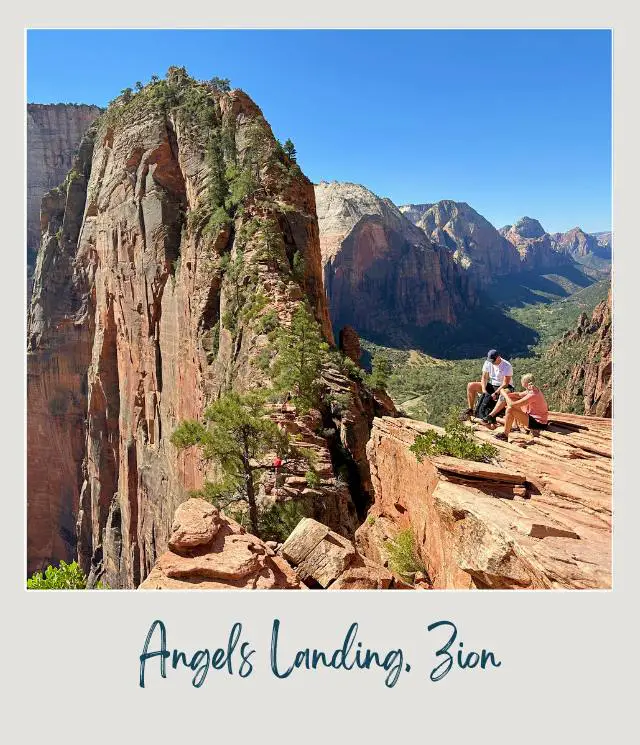
You need a permit to hike Angels Landing. This is because the last half mile, from Scouts Lookout to Angels Landing, is very narrow, with steep drop offs on both sides, and a chain to hold onto.
The trail is very popular and it got so crowded that it became very dangerous. So, the NPS implemented a lottery for people to get a controlled number of spaces each day.
Permits are issued for two time slots – to start the hike before 9:00am or after 9:00am.
Note that the permit is required only to hike the chain section from Scouts Lookout to Angels Landing, which is 0.5 miles (each way).
➡️ Read my Guide to the Angels Landing Permit System for full details.
2. Photo ID
Take a photo ID (or a photo on your phone of your photo ID) and print out of your permit, or have it saved as a photo or on your phone. Park rangers are frequently positioned at the start of the chain section, at Scouts Landing. They will check not only your permit, but also your ID, to verify that it’s your permit.
3. Alternative to the chain section
If you’re afraid of heights, the last section of the Angels Landing hiking trail may not be for you.
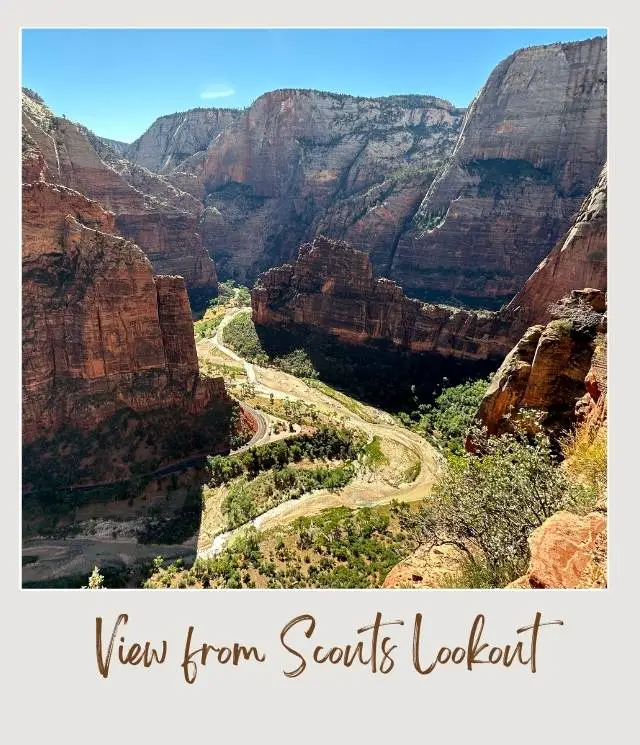
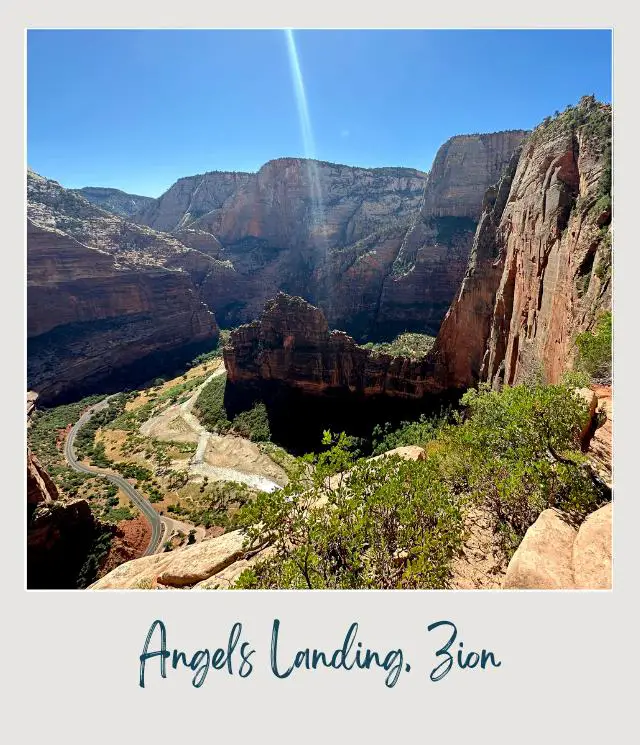
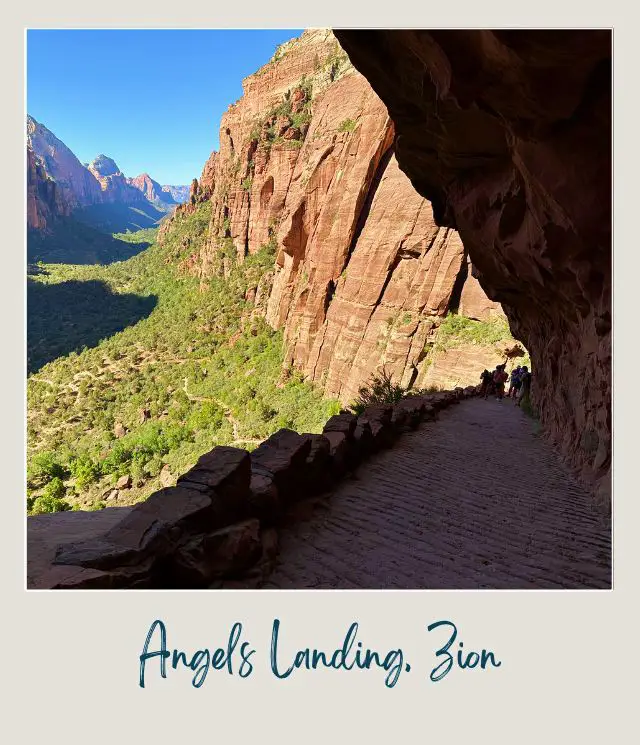
If you are, or if you didn’t get a permit, the hike is 100% still worth it, though. I love the hike just to Scouts Lookout, and the views are still great, especially looking to the left, deeper in the canyon.
If you want to get the classic views in the opposite direction (which is the main view from the end of the Angels Landing trail), an option is to continue along the West Rim Trail from Scouts Lookout and in about 20 minutes (about 0.3 miles), you’ll be above Angels Landing.
4. Use the chains
If you do the chain section, the chains are there for a reason and very helpful. I saw a woman slip, and thank goodness she was holding on – it’s the only thing that prevented her falling off the mountain.
If you’re hiking in winter, take gloves with a good grip.
5. The Shuttle & Parking
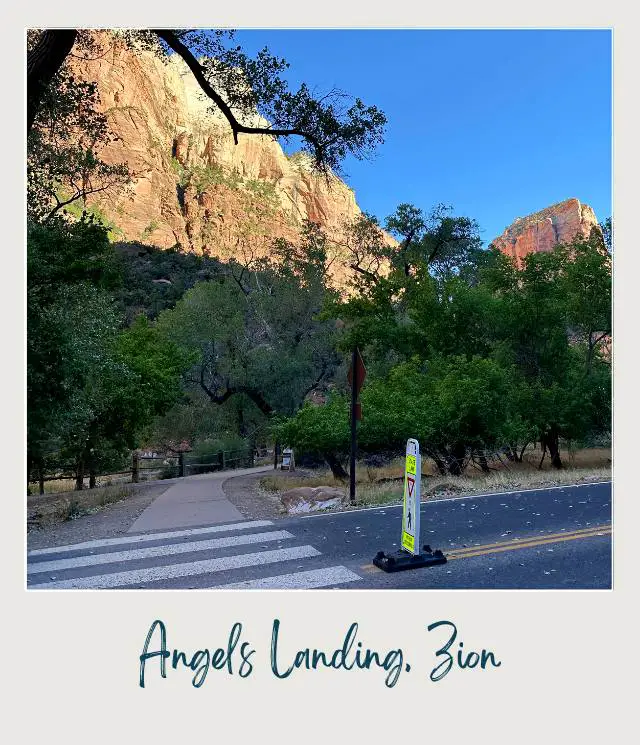
There is a shuttle in Zion most of the year. The stop for the trailhead is The Grotto.
In winter (except around Christmas), you can drive through the canyon. However, parking fills quickly and the NPS will close access if the parking areas are full. The trail is often a lot less crowded very early – and you’ll still get a parking spot, so I recommend that in winter.
If you head out later or if it’s closed because it’s full, you can rent an e-bike in Springdale. This is also a good idea in summer if you want to get there before the first shuttle or if you just want to skip the shuttle.
6. Hiking in winter
You can hike Angels Landing all year – and permits are required all year. But if you hike in winter, there are a few differences.
First of all, it will be a lot less crowded and they often don’t give out all the permits available, so you have a very good chance of being able to do the hike when you want.
In winter, the shuttle doesn’t run, but parking fills early and the trail also starts to get more crowded as the morning progresses, so if you want to get a parking spot – and have some solitude on the trail – get there early. So, if you’re an early riser, I’d definitely recommend getting a permit to start the hike before 9:00am.
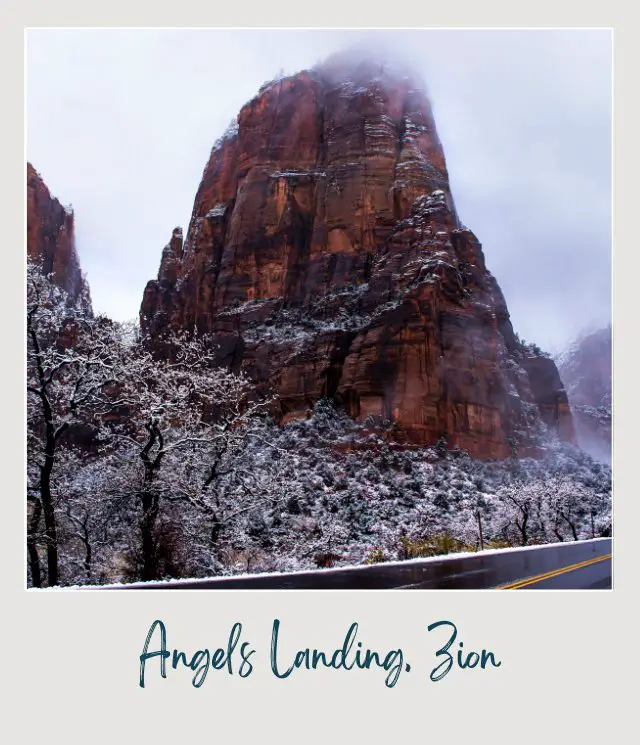
It can be snowy or icy in winter, so take microspikes. The trail may be clear and you won’t need them, but if it isn’t clear, you’ll definitely need them.
➡️ I use and live these Kahtoola microspikes
➡️ Read my guide to The Best Microspikes for Hiking if you want more options
And, as I mentioned above, wear gloves with a good grip, as you’ll definitely want to be able to hold onto the chain.
7. Hiking in summer
Zion National Park gets very crowded in summer. It also gets very hot. This means a few things.
Firstly, it means that permits are harder to get and there aren’t enough spaces available for the number of people who apply. If you miss out, you can apply a second time the day before. If you’re in Zion for a few days, then try for the first day you’re there and if you miss out, keep trying for each subsequent day.
If you miss out completely, I still recommend doing the hike Scouts Landing.
The heat means that in general, getting an earlier start is better. It also means you need to be well prepared with lots of water and snacks.
The permits are for two time slots (to start the hike) – before 9:00am or after 9:00am. The earlier time slot tends to be harder to get – and you can only apply for one. If you’re hiking with someone, they could try for one time slot and you try for the other.
Many people with a permit for the earlier time slot aim for the first shuttle. This is a good idea to be on the trail before it gets crowded and too hot, but the first shuttle is popular and there are often long lines. You have a couple of options:
If you have a permit for the first time slot, get there are early as possible, well before the first shuttle leaves, to be near the front of the line.
If you have a permit for the second time slot, I like to get to the shuttle around 7:45am which is often between rushes. Then do another short hike (e.g. to Emerald Pools on the Kayenta Trail) and start the Angels Landing hike just after 9:00am.
8. Trekking poles
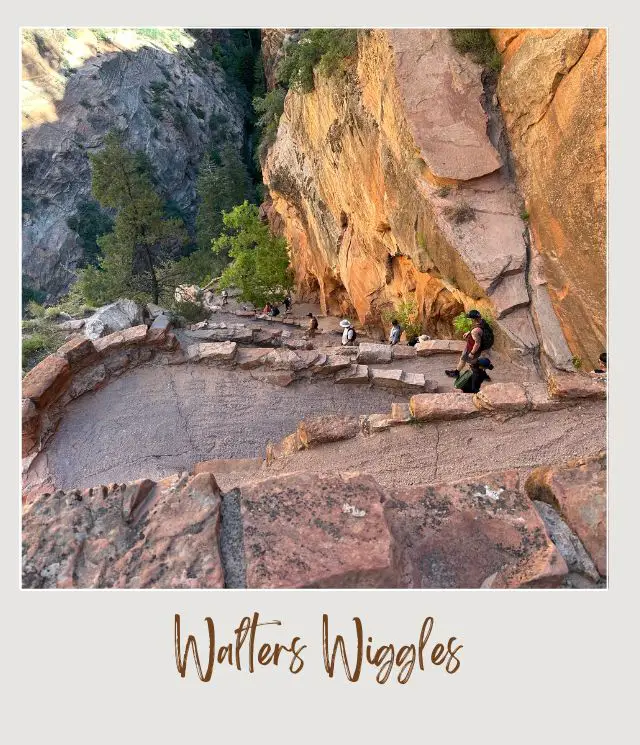
After the initial part, most of the trail is steadily uphill. Trekking poles are really great going up – and even more going down, when the trail, which is paved, can be partially covered in sand, which makes it slippery.
➡️ I have a really like these hiking poles (They’re called ‘women’s’, but I’m 6 feet tall and find them really comfortable).
However, trekking poles are a hindrance on the chain section, so make sure you’re able to fold them away and stash them securely on a small day park and keep your hands free for the chains.
9. The right footwear
Shoes with flexible soles and good grips are helpful. Stiff boots can actually be a hindrance with steps and elevation change. Slippery soles would be a nightmare. Even excluding the chain section, a lot of the trail, which other than the chain section is full paved, has sand on it, which makes it slippery.
10. What to take with you
Bring lots of water, especially in summer, but even in winter. Also wear sunscreen and a hat in summer and sunscreen and plenty of warm layers in winter. Plus salty snacks.
11. Respect Your Limits
I’ve heard of plenty of people who felt that the chain section wasn’t nearly as bad as it has seemed on social media.
However, I’ve also seen plenty of people at Scouts Landing who either took one look at the chain section or tried the first part and then decided that they didn’t feel safe. That is absolutely 100% OK!
The hike is supposed to fun and if it suddenly seems daunting and terrifying, then listen to what your body and mind are telling you and respect your limits. There’s no shame in deciding that this is not for you.
The view from Scouts Lookout is still great – and as I mention above, if you want to, you can hike a bit further up the West Rim Trail and look down on Angels Landing.
12. What NOT to do
Don’t try holding on to trees or branches – stick to the chains, which are securely fastened. I also don’t recommend holding on to other people.
Also, don’t be impatient with other people who are scared of heights and having a moment. Try to let them have the chain if you feel comfortable letting go to allow them to pass.
I hope these tips help!
More Planning Resources for Zion National Park
Do you have any tips for hiking Angels Landing, Zion National Park? I’d love to hear about them. Join my private Facebook group National Parks Collectors and comment and let me know (you can also pick up extra planning tips, share your photos and stories with other national park lovers and more).
WANT TO SAVE THIS GUIDE?Subscribe to daily national parks planning tips, travel inspiration and trip ideas and I’ll send you a free PDF of this Guide:
12 Helpful Angels Landing Tips
If you found these Angels Landing hiking tips helpful, Pin It to your Zion National Park board!
James Ian is a national park, camping and hiking expert.
He has dedicated his life to travel, visiting more than 80 countries, all 7 continents and most of the national parks in the United States. With over 35 years experience in the travel industry, James has worked on cruise ships, at resorts and hotels, and as a travel planner who’s helped hundreds of people plan successful trips to US national parks.
Based on his experience visiting our national parks multiple times, in-depth research and expertise as a travel planner, James has published detailed itineraries for many of the major national parks in the US. These itineraries, as well as in-depth park guides, and other resources will help you have your own incredible trip to US national parks without stress and hassle.
As a national park expert, James has contributed to many publications, including USA Today, Newsweek, Time Business News, Savoteur, Best Trip, and Wired.
Read more…
I’m a member of the Amazon Services LLC Associates Program. As an Amazon Associate I earn from qualifying purchases.
