Did you know most wildlife watchers make a simple mistake that ruins their chances of seeing animals? They head out at noon when the trails are busiest, but the animals are hiding.
I’m not an expert photographer, but I have been traveling for 35 years. I’ve been on safaris in Africa, Borneo, the Amazon, Brazil’s Pantanal, the Galapagos, and more. But some of my very favorite wildlife sightings have been right here in the USA in our national parks.
Over the years, I’ve learned a thing or two about wildlife viewing. And I’m happy to share my top wildlife tips with you.
No time right now to read these wildlife watching tips? Pin It and save it for later:
🛏️FIND A HOTEL: Search now
🚘FIND THE CHEAPEST CAR RENTAL: Search Discover Cars for the best deals
✈️FIND THE CHEAPEST FLIGHTS: Search Skyscanner for the best deals
🧳GET TRAVEL INSURANCE: Get insured with Travelex before you go
📱TAKE AN AUDIO TOUR: Buy an audio tour now
Subscribe to daily national parks planning tips, travel inspiration and trip ideas and I’ll send you a free PDF of this Guide:
14 Expert Wildlife Watching Tips for Unforgettable National Park Adventures
Table of Contents
1. Best Times for Wildlife Viewing
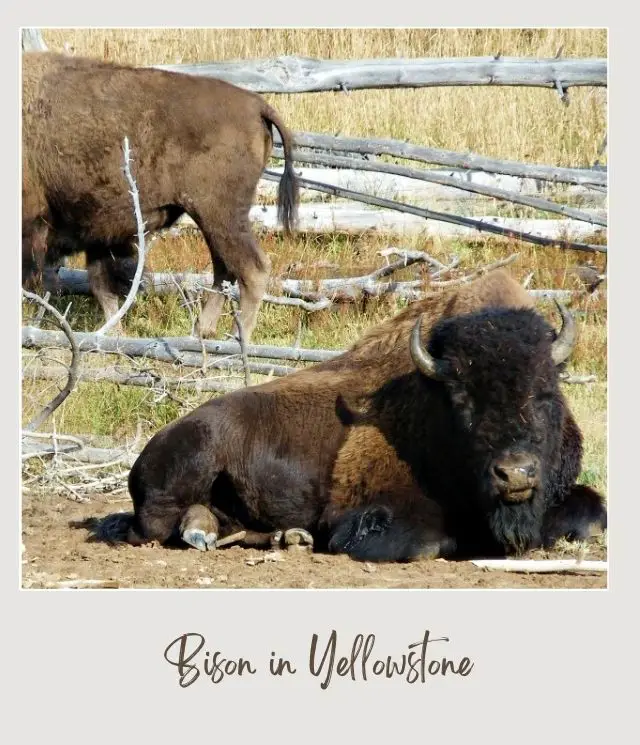
The early morning hours and late afternoons offer the best chances to spot wildlife in national parks.
Animals are most active during these cooler times, making dawn and dusk prime viewing windows. I’ve found many animals grabbing breakfast just after sunrise or getting their last meal before nightfall.
Each season brings different wildlife viewing opportunities.
In spring, you’ll see newborn animals and returning migratory birds. Summer mornings let you watch animals before they seek shade from the heat. Fall brings out animals preparing for winter, while winter shows off larger mammals against snowy backgrounds.
It’s worth checking with park rangers about local animal patterns – they know exactly when specific species are most likely to be out and about.
2. Using Binoculars and Spotting Scopes for Wildlife Watching
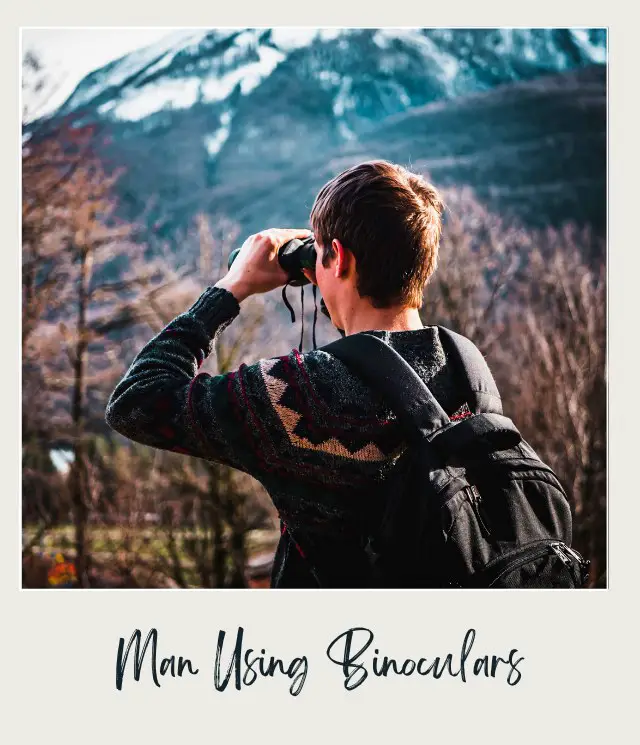
Which are better: Binoculars or spotting scopes?
Binoculars have two lenses, while spotting scopes have one. You can get reasonable quality binoculars for a reasonable price and if you’re just casually watching animals or birds, they are probably enough.
However, if you’re serious about wildlife watching, or if it’s likely that the animals will be very far away – and if you can have a stable place to set up the spotting scope (they work best with a tripod to reduce shake), then spotting scopes generally give much clearer images. They are more expensive though.
Learn more about what to look for, as well as read reviews and get recommendations:
➡️ The Best Binoculars for the Money
➡️ The Best Spotting Scopes for Wildlife Viewing
Getting sharp, steady views through binoculars takes practice. I prefer 10 x magnification binoculars because they’re easier to handle for viewing than stronger ones.
First, adjust the eyepieces to match your eyes – close your right eye and focus the left side on a distant object, then do the same with the right side.
When scanning for wildlife, I start at the edges of clearings and slowly work my way across the landscape. Don’t just look straight ahead – pan your view up and down too. Animals often blend into their surroundings, so watch for subtle movements or shapes that seem out of place.
Once you spot something interesting, keep both eyes open while using the binoculars – it reduces eye strain during long viewing sessions.
3. Best Spots to See Wildlife
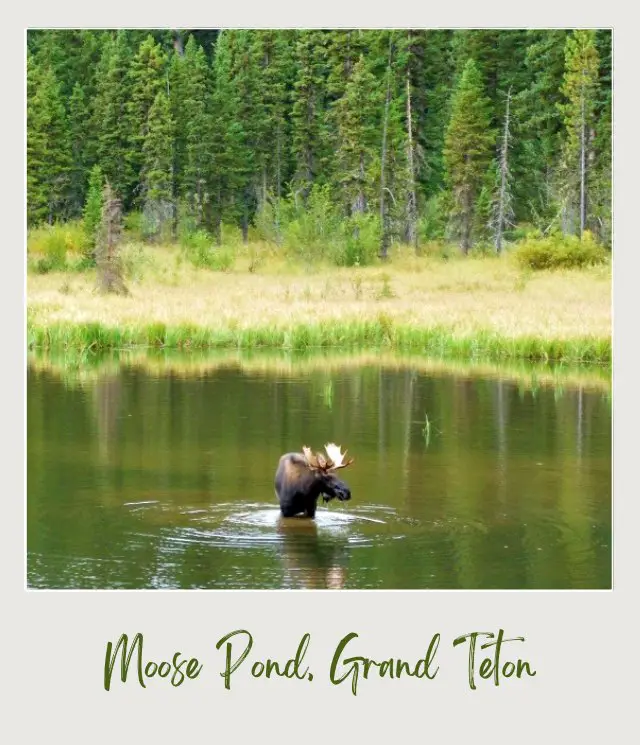
The best wildlife sightings happen away from busy trails and parking lots. Animals prefer quiet spots where different habitats meet – like where forests edge up to meadows, or near streams and ponds. These transition zones offer food and water sources that attract various species throughout the day.
I’ve had great luck watching for movement along riverbanks early in the morning. Many animals come to drink, making these spots perfect for quiet observation.
In mountain parks, look for wildlife in high meadows during summer mornings. For desert parks, check spots near water sources, especially during cooler hours.
Always check with the Visitor Center for current wildlife activity – rangers know which areas are active with different animals each season. They can point you to less-visited sections of the park where you’re more likely to spot wildlife going about their daily routines.
4. Safety Guidelines for Wildlife Viewing
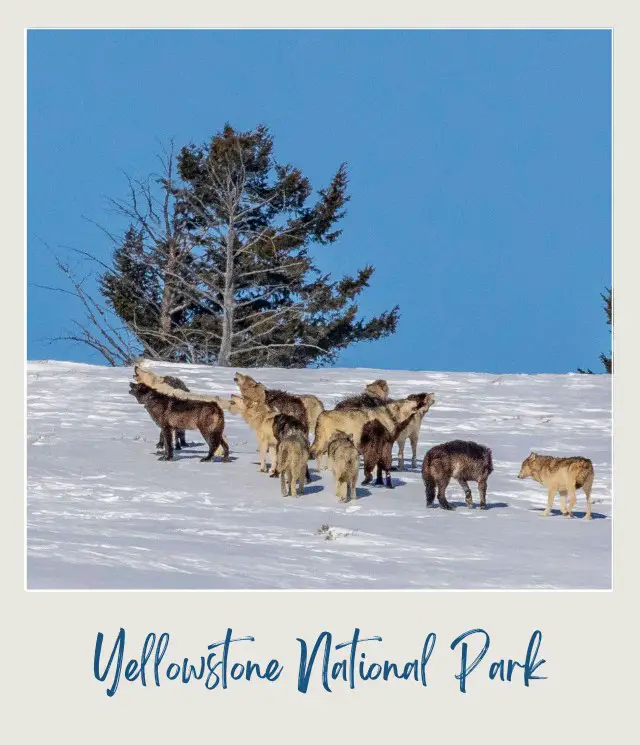
I always keep at least 100 yards from predator animals like bears and wolves and 25 yards from smaller wildlife.
A simple trick is the “thumb trick” for safe distance – hold your thumb up at arm’s length with one eye closed. If your thumb doesn’t completely cover the animal, you need to back up more.
Never feed wild animals – it’s not just against park rules, it’s dangerous for both you and them. Fed animals can become aggressive and dependent on human food, losing their natural foraging skills. They then need to be put down. The saying “a fed bear is a dead bear” exists for good reason.
When watching wildlife from your car, pull completely off the road at designated spots. Keep your engine running in case you need to move quickly. In bear country, carry bear spray and know how to use it. Remember to stay quiet, still, and respectful – we’re guests in their home.
Also, don’t try to help animals. There was a news story a year or two ago about a well-meaning man who helped a baby bison in Yellowstone that was stuck at the edge of a river. Unfortunately, the mother then rejected the bison because it smelled ‘wrong’ because it had the man’s scent on it, and the baby had to be put down. He thought he was doing the right thing, but turned out to be the (indirect) cause of the baby bison’s death.
5. Proper Wildlife Viewing Etiquette
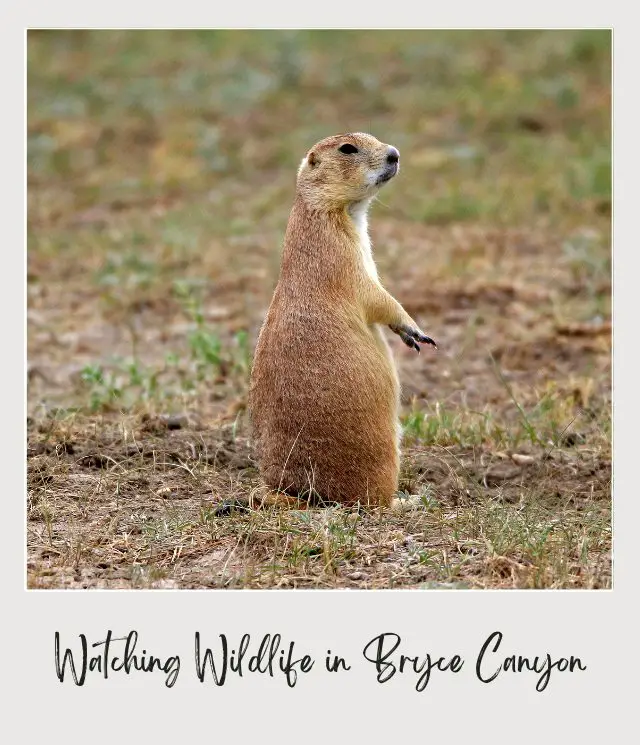
Being still and quiet is key to seeing animals in their natural state. I’ve learned to watch wildlife through stealth – walking slowly, stepping softly, and stopping often – this lets me spot wildlife before they notice me. When I find a good spot, I sit quietly and let the animals get used to my presence.
Never chase or follow animals that move away. If an animal changes its behavior because of you, that’s your sign to back up. I watch through binoculars or a spotting scope instead of trying to get closer for a better look. This way, the animals stay relaxed and show their natural behaviors.
Pack out everything you bring in – even organic waste like apple cores can affect wildlife. I keep my distance from nests, dens, and baby animals. Their parents need space to care for them without stress from people watching.
6. Tips for Identifying Different Animal Species
Field guides come in handy right on the trail – I often keep a small one in my pocket for quick animal ID checks. The pictures and descriptions help me spot key markings that tell similar species apart. Even better, many guides now include QR codes that link to bird calls and animal videos.
The iNaturalist app has changed how I track wildlife in parks. When I spot something interesting, I snap a photo and the app suggests what it might be. Other nature fans in the area can confirm my sightings, and I love seeing what animals they’ve found too.
The app also shows me where others have spotted certain species recently, which helps me plan where to look. My wildlife sightings get added to park research data through these apps. It’s pretty cool knowing my observations help scientists track animal populations and movements through the seasons.
Animal tracks tell stories about who’s been around. Fresh prints in mud or snow show recent activity, while worn paths point to regular animal routes. Each species leaves distinct footprints – deer tracks look like split hearts, while bear prints show five toes and long claws.
Park ranger programs offer hands-on learning about local wildlife. Rangers point out subtle details you might miss, like the difference between elk and deer calls, or how to spot where bears have marked trees. The morning wildlife walks are especially helpful – you’ll learn to spot animals while getting real-time identification tips.
7. Strategies for Photographing Wildlife
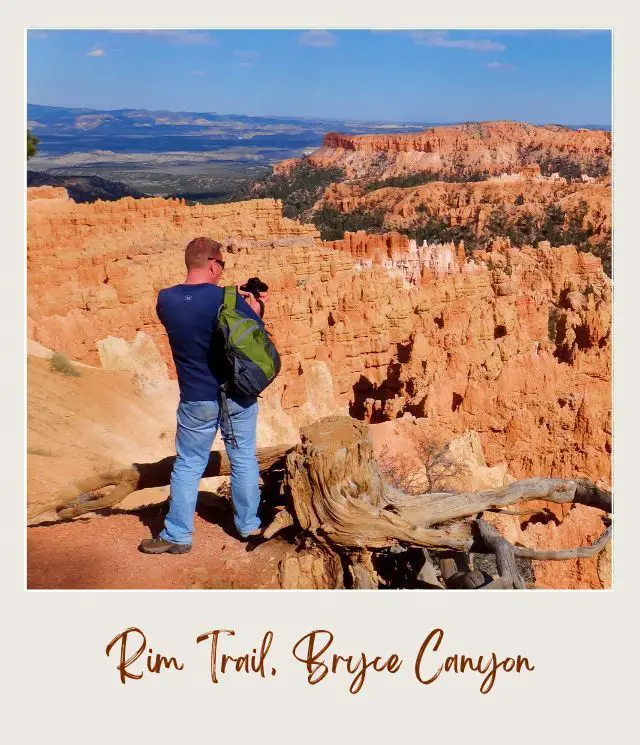
I’m going to start this section with a caveat – I am not an expert photographer by any means. But I’m happy to share what I know.
The best wildlife photos come from the soft, golden light during sunrise and sunset. Set up your camera before dawn to catch animals in their early morning routines. I’ve gotten my sharpest shots using a tripod, but if you’re moving around, pull your elbows close to your body for stability.
Watch for interesting animal behaviors rather than just static poses. Birds feeding their young, deer sparring, or bears fishing make more engaging photos than simple standing shots. I keep my camera ready but stay patient – sometimes I’ll wait an hour for the perfect moment.
When I’m photographing from my car, I rest my camera on a small beanbag on the window ledge for extra stability.
Remember to turn off your flash – it bothers the animals and rarely helps with distant shots.
Most importantly, keep shooting – wildlife photography takes practice, and each attempt teaches you something new.
8. Seasonal Wildlife Viewing Guide
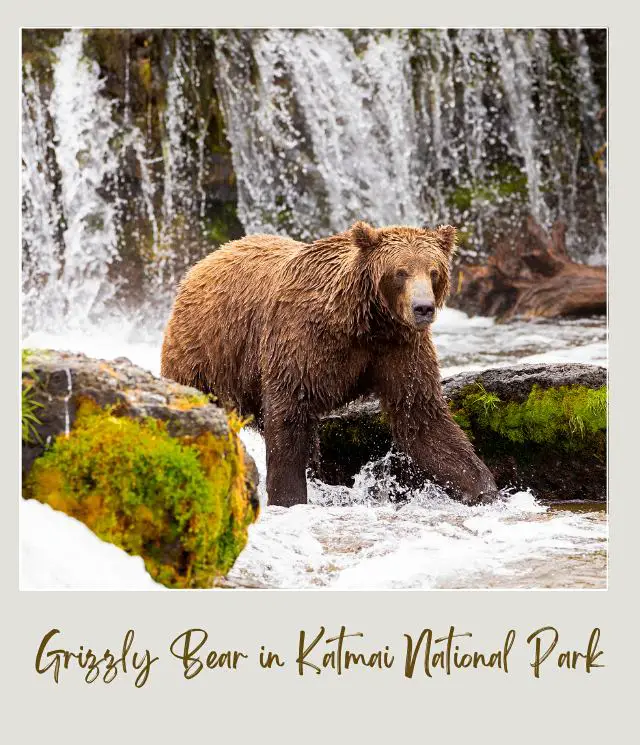
Each season brings different opportunities.
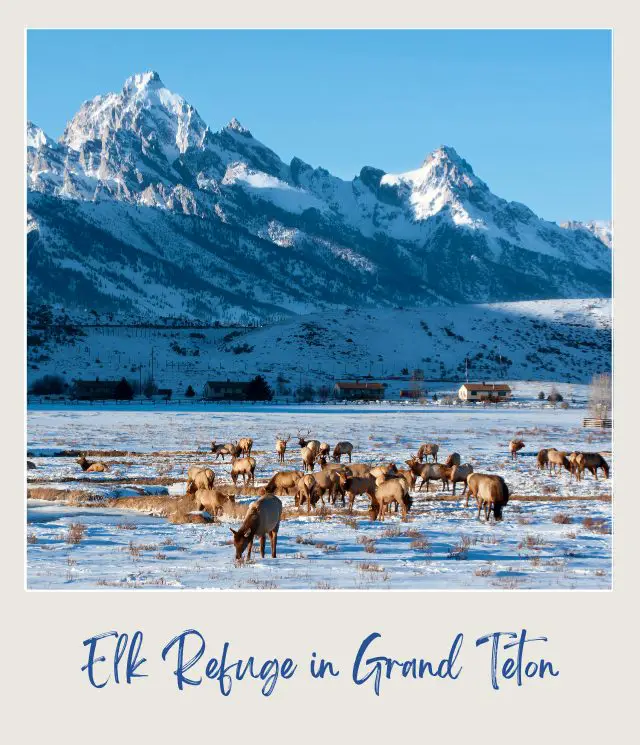
Winter brings bighorn sheep down to lower elevations, making them easier to spot near park roads. You’ll often see elk and moose browsing on winter vegetation in the early mornings. I love watching bison plow through deep snow with their massive heads – they’re most active at dawn when temperatures are coldest.
Spring fills the parks with new life as bears emerge from hibernation and babies start appearing. Baby bison calves show up in April and May, while elk calves arrive in June. Bird activity peaks as migratory species return to build nests.
Summer heat pushes many animals to higher ground. Head to alpine meadows to watch marmots sunning on rocks and mountain goats grazing.
Fall brings the elk rut, when bulls battle for mates with impressive antler clashes and bugling calls that echo through the valleys. Bear in mind that they can be very aggressive at this time of year – so it’s especially important to keep a safe distance.
9. Participating in Ranger-Led Wildlife Programs
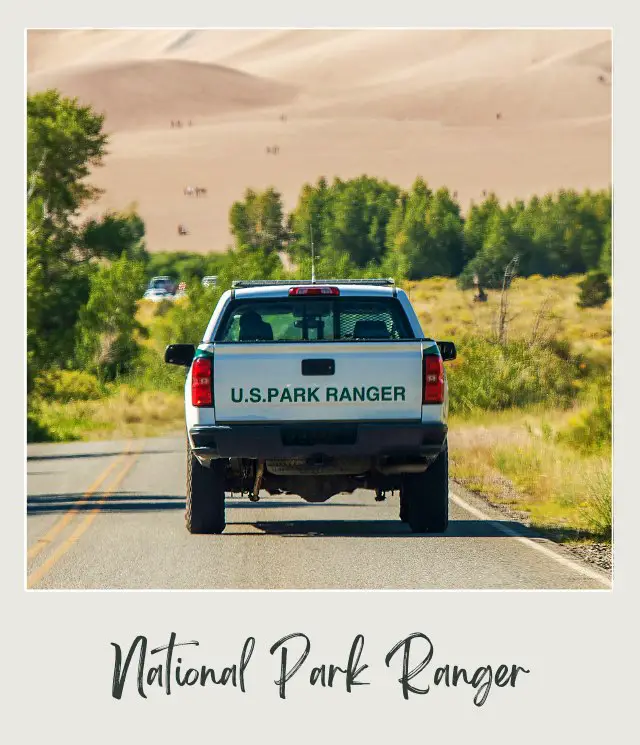
Park rangers run wildlife walks and talks that give you an insider’s look at animal behavior and habitats. I sign up for these programs on my first day at any park if I can – they’re packed with tips about where different animals hang out and what they’re up to that season.
Morning wildlife walks are my favorite. Rangers take small groups to quiet spots where animals are active, teaching you how to spot different species without disturbing them. They’ll point out fresh tracks, explain animal calls, and share stories about recent wildlife activity in the park.
These programs work great for kids too. Rangers know how to keep young wildlife watchers engaged, often bringing along tools like track molds or animal skulls. The evening talks usually cover seasonal wildlife patterns and safety tips for specific animals in the park.
10. Reading Animal Behavior and Signs
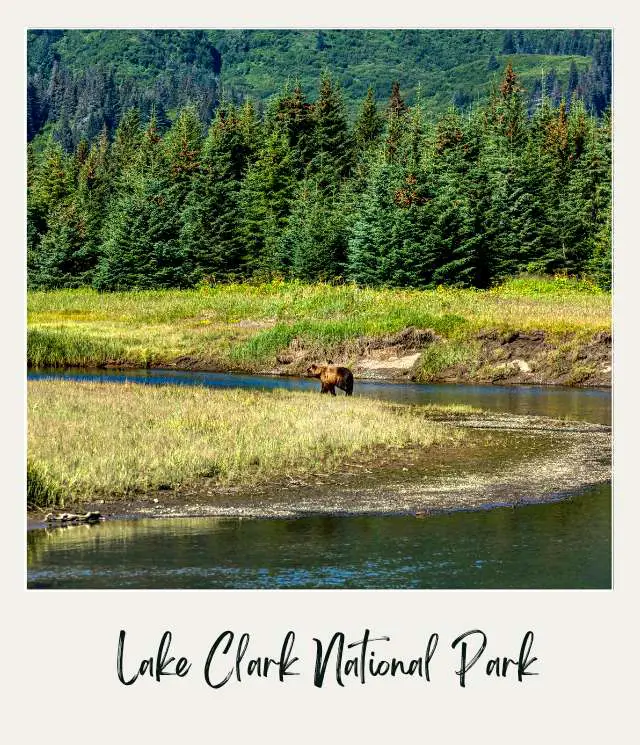
Animal body language tells you what they’re thinking. If a bear stands on its hind legs, it’s not being aggressive – it’s trying to get a better look or smell. When elk or deer point their ears forward and stamp their feet, they’re warning you to back up. I watch for tail positions too – a raised deer tail usually means they’ve spotted something concerning.
Animals leave clues about their daily routines. Fresh tracks in mud show recent activity, while worn paths point to regular travel routes. Scratched trees mark territory for bears, while rubbed bark at deer height shows where bucks scrape their antlers. I look for signs of wildlife like torn-up logs from bears hunting insects or stripped bark where elk have been eating.
Scat tells stories about what animals eat and when they passed through. Rangers taught me that berry-filled bear droppings mean they’re loading up on fruit, while grassy elk pellets show they’re grazing in meadows. These signs help me know where to quietly wait for wildlife sightings.
11. Staying Quiet and Patient During Wildlife Watching
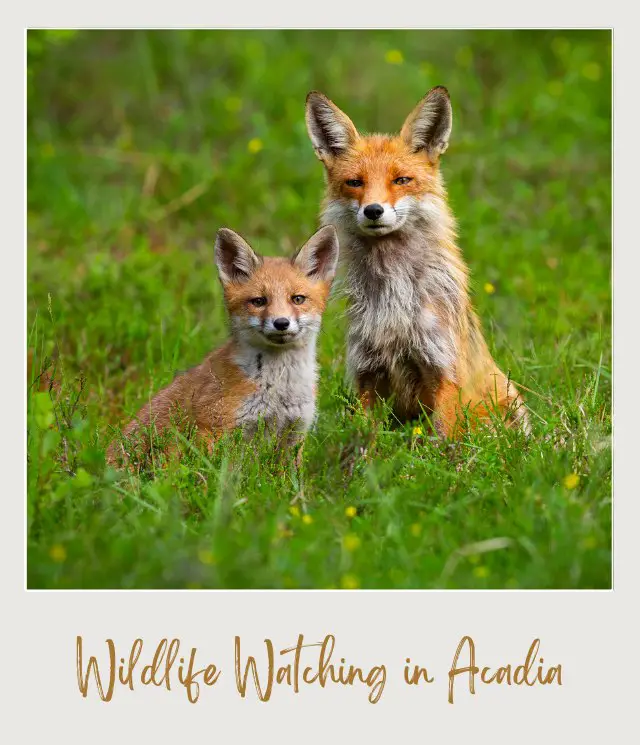
Success in wildlife watching comes down to moving like a fox – placing the outside of your foot down first, then rolling it flat. This silent walking technique lets you get closer without spooking animals. I take about 30 seconds between steps, scanning the area as I move.
Sometimes I’ll sit in one spot for an hour or more, letting the wildlife get used to my presence. Animals often return to their normal routines once they forget you’re there.
The softer you walk and the longer you wait, the more you’ll see. I keep my movements slow and smooth – no sudden gestures or quick turns. Even reaching for binoculars needs to be done gently to avoid startling nearby wildlife.
12. Dressing Appropriately for Wildlife Watching
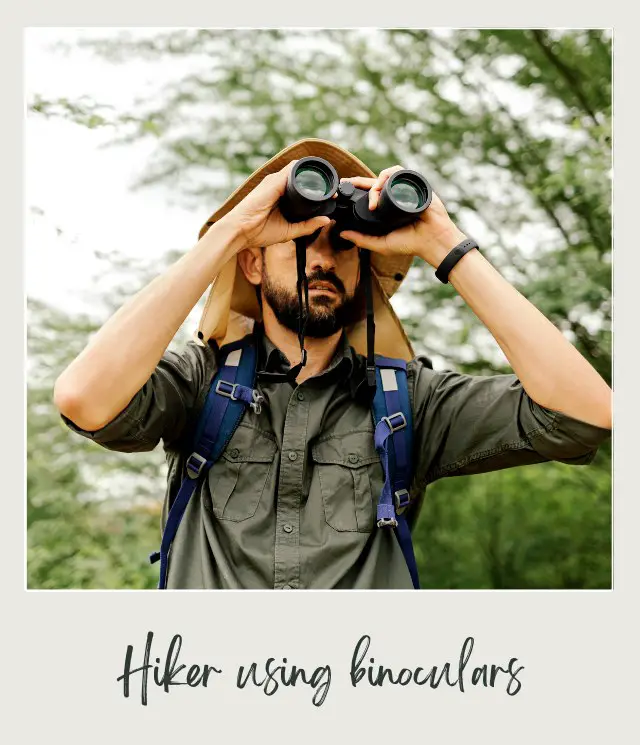
I always wear earth-tone colors when watching wildlife safely – browns, grays, and dark greens help me blend into natural settings. Bright colors and white clothing stand out too much and can spook animals before you ever see them. Even my hat and backpack stick to these muted shades.
Layering clothes is key since wildlife viewing often means sitting still for long periods. I start with a moisture-wicking base layer, add an insulating middle layer, and top it with a quiet, non-rustling outer shell. This way I can adjust my temperature without moving around too much.
Skip perfumes, scented deodorants, or fragrant sunscreen – animals have much better noses than we do. I use unscented products and wash my wildlife viewing clothes in unscented detergent. The less human smell you carry, the better your chances of getting close to wildlife.
13. Essential Wildlife Watching Gear
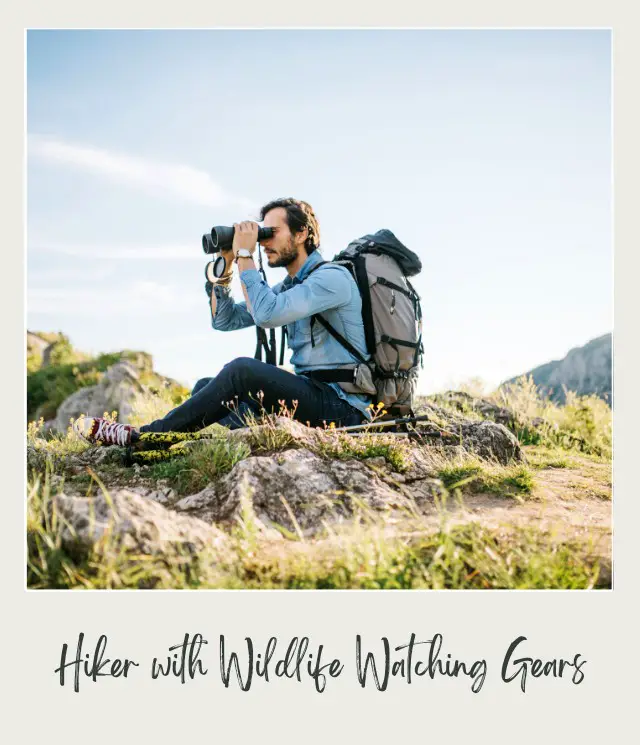
This is a variation on a list put out by the NPS, and backed up by my own experience:
Binoculars/ Spotting Scope
As I mentioned above, these allow you to see the animals really well without getting too close. If an animal approaches you, back away.
Camera with zoom
Since you need to stay a safe distance away, if you want to capture the next National Geographic cover photo (or at least a shot you think should be featured!), then you’ll need a good camera with a good zoom lens. Don’t forget extra batteries for your camera.
ID Books
Use field guides to help you identify what you’re seeing.
Journal/ Field Book
These make a great souvenir if you take notes about what you see or draw pictures if you’re artistically inclined.
iNaturalist app
This mobile app allows you to make identifications and observations from your smartphone.
Sun (and bug) Protection
Because you may end up sitting a long time outside, you should make sure you have adequate protection.
I like to wear a long-sleeved shirt, sunscreen, a sun hat, and sunglasses. I always wear reef-safe sunscreen, as it’s much better for the environment. Get some reef-friendly sunscreen here if you need some.
If you’re anywhere you’ll encounter bugs, be sure to wear bug spray too, or your life will be miserable.
Water
Of course you should always stay well-hydrated.
Bear Spray
I think having bear spray is always a good idea if you’re in any national park where there are bears. You want to see one – but not when it’s attacking you! You can use bear spray to stop an aggressive, charging, or attacking bear.
14. Things NOT to bring
There are also a few things that are best left at home.
Food for animals
It’s very, very important not to feed any animals in national parks. For one thing it’s illegal. But it’s also dangerous – for both you and the animals. If wild animals eat human food, they can get sick, catch diseases, or even have to be killed if they become too aggressive looking for more food.
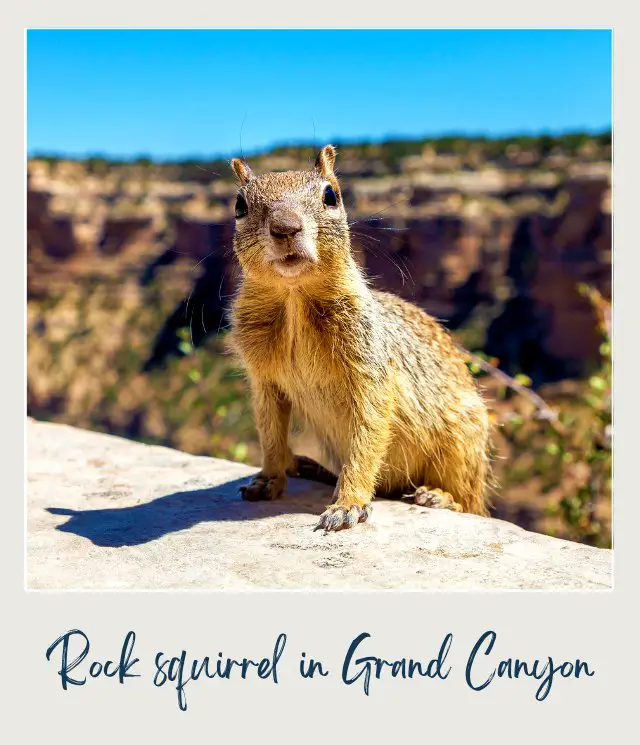
Did you know that the most dangerous animal in Grand Canyon National Park is the rock squirrel! People feed them, so they become extremely aggressive and bite people! (and you’ll often see squirrels that are morbidly obese).
Animal/Bird Calls
Avoid using bird calls or apps that mimic animal sounds. Imitating animal noises is considered harassment and is illegal. This practice can disturb wildlife, such as causing birds to abandon their nests, leaving their young vulnerable to predators. Additionally, animals that feel threatened might act defensively, potentially resulting in human injury.
Spotlights/Laser Pointers
Spotlights and laser pointers can disrupt animals and are banned in certain parks.
Pets
Most national park trails do not allow pets, so it’s recommended to leave them at home during your visit. Pets can chase or threaten wildlife, causing small animals to flee or becoming prey for larger predators. Wildlife might also chase or threaten your pet. Dogs can bark, creating unfamiliar noises and smells that disturb wildlife. Pets may also transmit or contract diseases or parasites.
In areas where pets are permitted, be a responsible BARK ranger: Bag your pet’s waste, Always leash your pet, Respect wildlife, and Know where you can go.
Final Thoughts on Wildlife Watching
After countless dawn patrols and dusk vigils in national parks, I’ve learned that wildlife watching is less about luck and more about preparation. The right gear, timing, and approach make all the difference between going home disappointed and witnessing incredible natural moments.
Remember, the best wildlife encounters happen when we respect their space and routines. Pack your patience along with those binoculars, and you’ll be amazed at what you might see. The animals are out there – you just need to know when and where to look.
Do you have any other wildlife photography tips for beginners or just general wildlife tip to share? Join my private Facebook group National Parks Collectors and comment and let me know (you can also pick up extra planning tips, share your photos and stories with other national park lovers and more).
Subscribe to daily national parks planning tips, travel inspiration and trip ideas and I’ll send you a free PDF of this Guide:
14 Expert Wildlife Watching Tips for Unforgettable National Park Adventures
If you liked this article, Pin It to your National Parks board!


💡 Are you just starting to think about taking a National Parks trip? Get Inspiration
‼️ Do you need tips and additional information? Read a selection of tips for visiting US national parks
💻 Are you starting to plan a trip to a national park? Read my free guides
📋 Do you need an itinerary? Buy a detailed itinerary for your park
💲 Are you ready to book your trip? Use these Planning and Booking Resources
📖 Do you want to read a book about US national parks? Check out my Recommended Reading Lists
About the Author
James Ian is a national park, camping and hiking expert.
He has dedicated his life to travel, visiting more than 80 countries, all 7 continents and most of the national parks in the United States. With over 35 years experience in the travel industry, James has worked on cruise ships, at resorts and hotels, and as a travel planner who’s helped hundreds of people plan successful trips to US national parks.
Based on his experience visiting our national parks multiple times, in-depth research and expertise as a travel planner, James has published detailed itineraries for many of the major national parks in the US. These itineraries, as well as in-depth park guides, and other resources will help you have your own incredible trip to US national parks without stress and hassle.
As a national park expert, James has contributed to many publications, including USA Today, Newsweek, Time Business News, Savoteur, Best Trip, and Wired.
I’m a member of the Amazon Services LLC Associates Program. As an Amazon Associate I earn from qualifying purchases.
